Upgrading AACG (Application Access Control Governor) from version 8.6.3 to 8.6.5 is a critical process that ensures your application is up-to-date and secure. This comprehensive patching guide provides step-by-step instructions for a seamless transition while integrating with WebLogic. By following these instructions, you can effectively manage the upgrade process, ensuring the continuity of your application’s access controls.
Log in to the application and go to Navigator -> Administration Management -> Manage Application Configuration.

Record the values for all the setup fields under the Properties Tab.
Create backups of the ETL Directory, Report Directory, and the Database schema. Download the patch to Staging Directory.
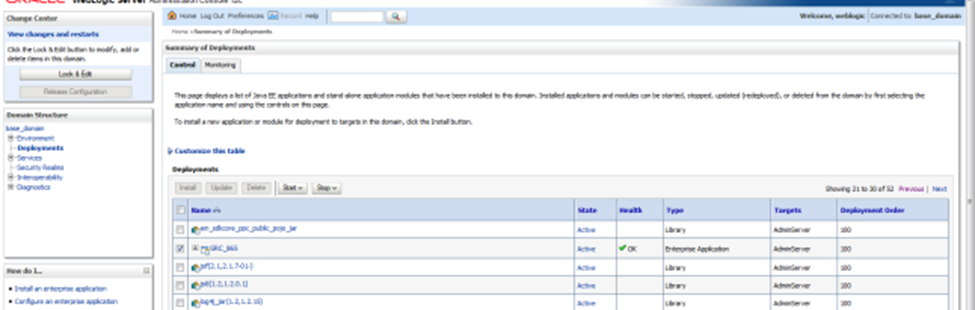
Log in to the console, navigate to Deployments, select <grc_application>, and stop the services.
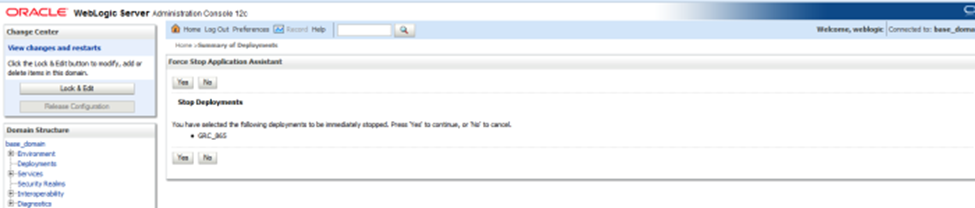
A confirmation will be prompted to force-stop the GRC. Click “Yes” to proceed.
Click “Lock and Edit,” select <grc_application>, delete the deployment, and activate changes.

Stop the WebLogic Server and SOA Server if they are being used.
Optionally, clear the Cache, Log, and tmp folders for AdminServer:
Navigate to $MW_HOME/user_projects/domains/<grc_domain>/bin
Delete the contents of ../servers/AdminServer/tmp/*
Delete the contents of ../servers/AdminServer/logs/*
Delete the contents of ../servers/AdminServer/cache/*
Go to <MW_HOME> and rename the <grc_folder> directory to <grc_folder>_old.
Create a new directory with the name <grc_folder> under <MW_HOME>.
Copy the grc.ear file from the staging directory to <MW_HOME>/<grc_folder> and extract it.
Start the WebLogic Server and SOA Server if they are in use.
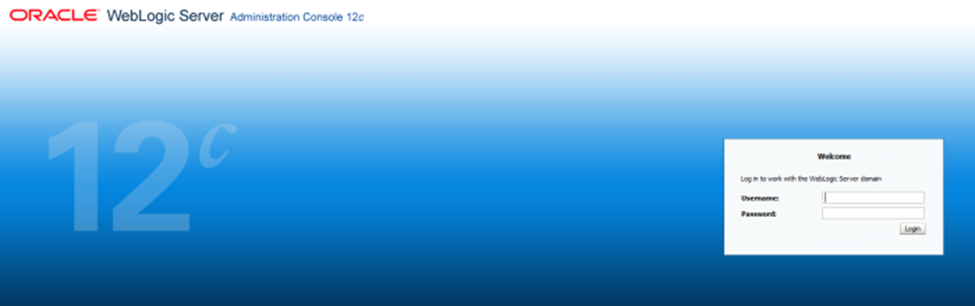
Log in to the WebLogic Server Administration Console Page:
http://hostname:port/console/login/LoginForm.jsp
Deploy the Patch:
A. Ensure you are logged in to the WebLogic Console: http://host:port/console
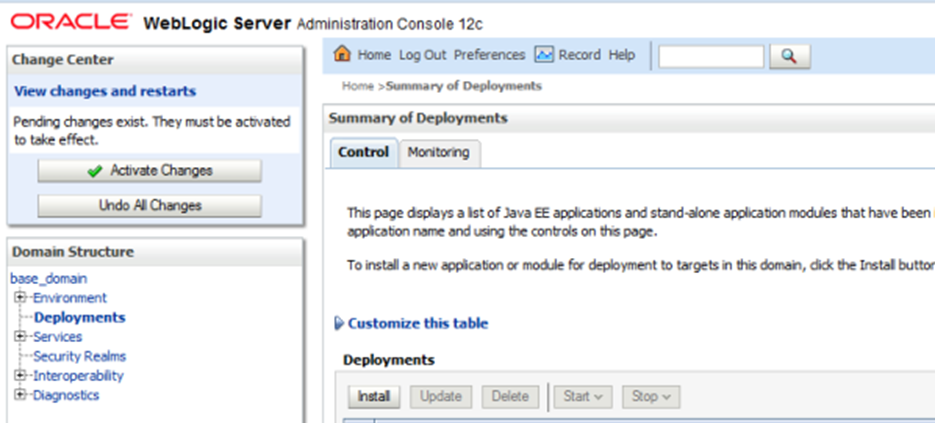
B. In the Change Center pane, select “Lock & Edit.”
C. In the Domain Structure pane, select on “Deployments.”
D. In the Summary of Deployments pane, select the Control tab.
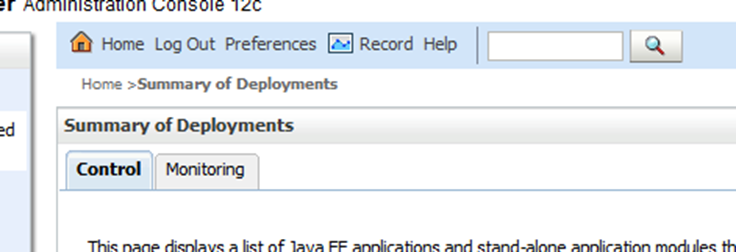
E. In the Summary of Deployments pane, click the “Install” button.

F. In the “Path” field of the Install Application Assistant pane, enter the full path to the <grc_folder> directory created earlier (step 9). Choose ‘grc (open directory)’ beneath Current Location.
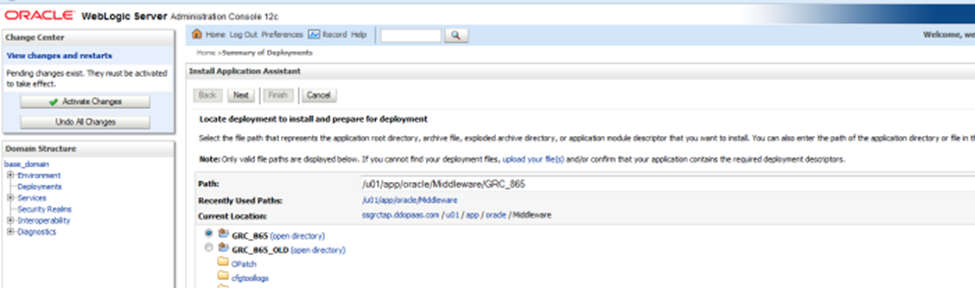
G. In the Install Application Assistant pane, press “Next.”
H. Choose ‘Install this deployment as an application’ in the ‘Choose targeting style’ section.
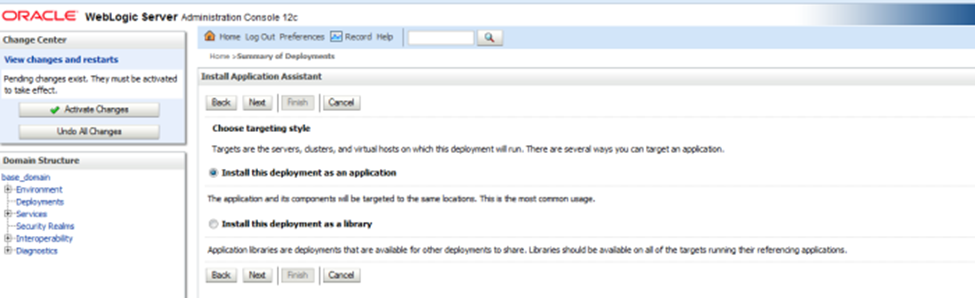
I. Choose ‘I will make this deployment accessible from the following location’ in the ‘Source accessibility’ section. Accept all other defaults.
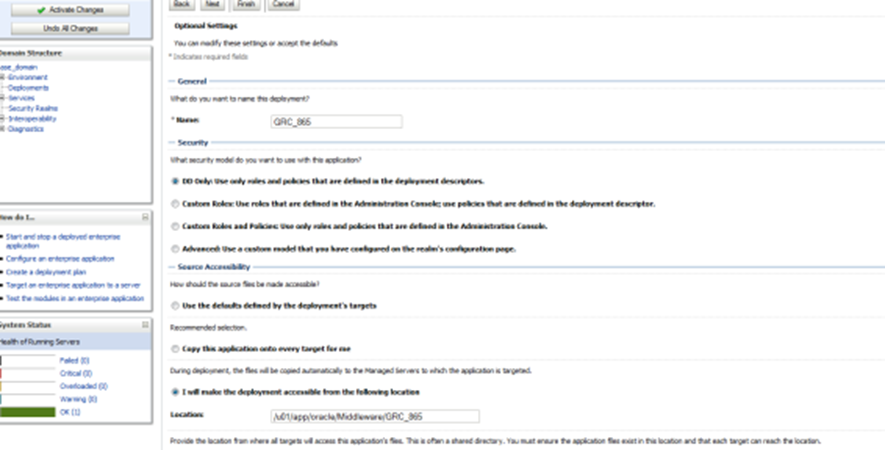
J. Press “Next.”
K. Choose ‘Yes, take me to the deployment configuration screen’ in the ‘Additional configuration’ section.
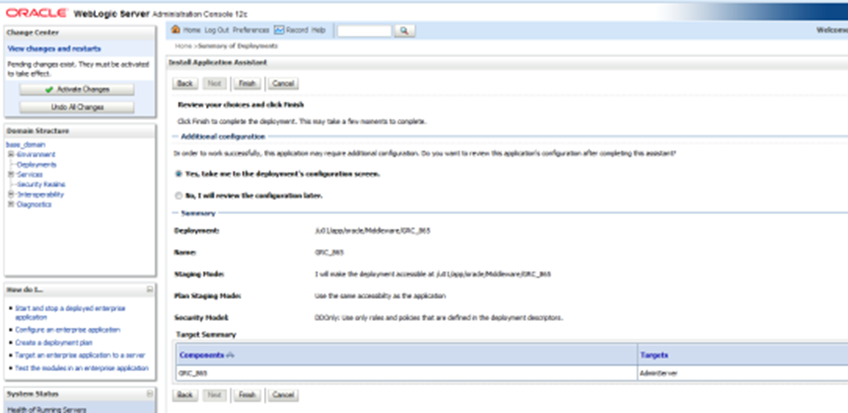
L. Press “Finish.”
M. Click “Save.”
Activate changes.
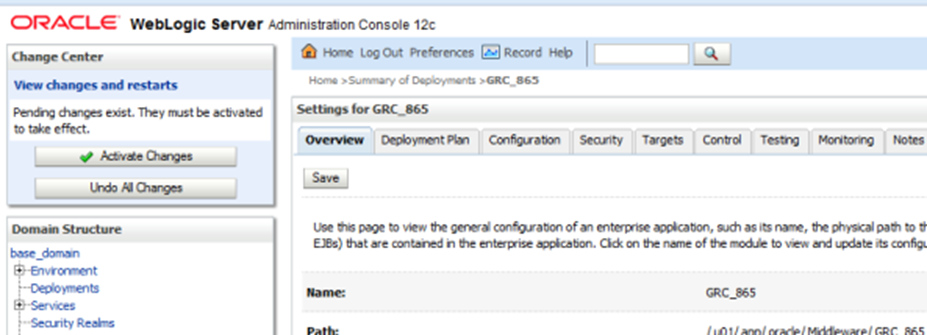
Select <grc_application> and start the deployment. It should show as active.
Launch http://host:port//grc, which will open the configuration page.
Provide all the details on the Config Page as per step 2 and save. (Debug log option is recommended)
Stop and start the WebLogic Server.

Tail -f grc.log and wait until it stops growing; this may take around 10-15 minutes.
Log in to the system, and click on the oval shape icon next to the user ID to verify that it displays the build version delivered by Oracle, such as 8.6.x.xxxx.
Once the upgrade is successful, delete the <grc_folder>_old folder.

Following these instructions ensures a seamless upgrade, keeping your application current and secure. Stay proactive in maintaining your software to benefit from the latest improvements and security enhancements.
Leave a Reply