In this guide, we’ll walk you through the steps to export setup data to a Zip folder, a crucial process for managing implementation projects and ensuring the smooth transfer of configuration packages between different environments. These steps will help you maintain data security and job role integrity during the migration.
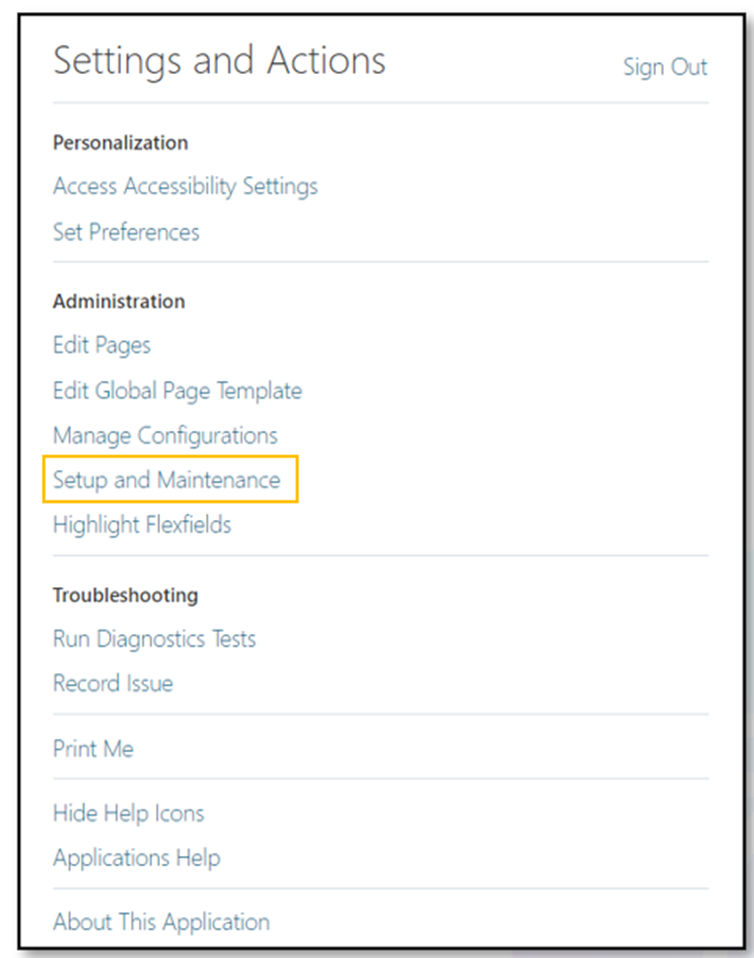
Step 1: To begin, go to “Setup and Maintenance.”
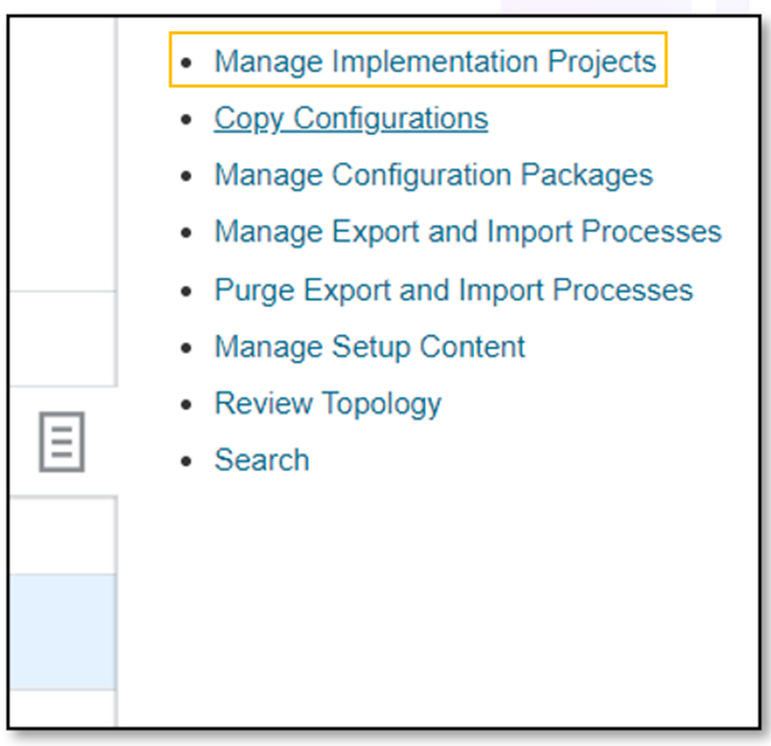
Step 2: From there, access the “Manage Implementation Projects” section.
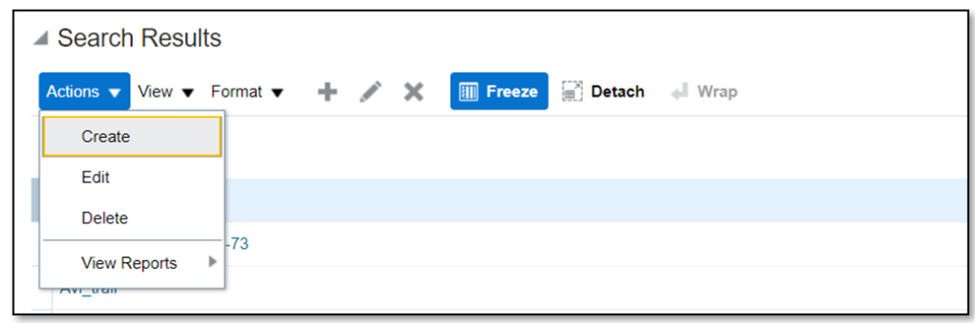
Step 3: Now, follow these steps to export setup data to a CSV file:
- Click on “Actions” and select “Create.”
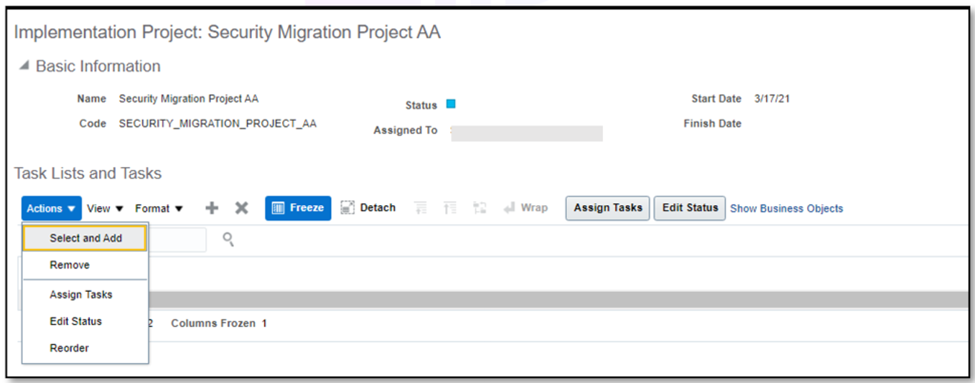
- Provide the necessary details for your Security Migration Project.
- Save the project and open it.

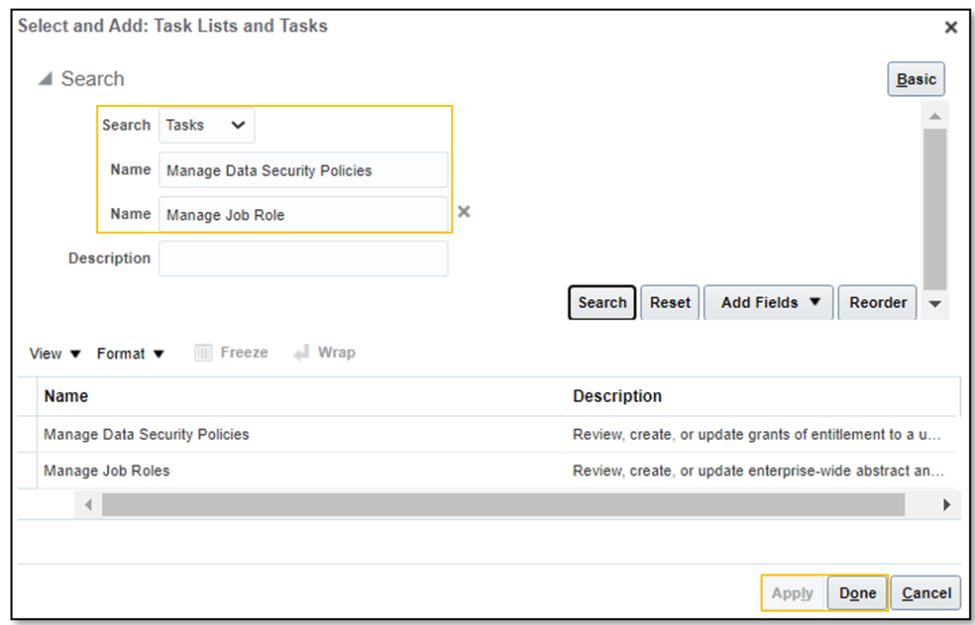
- Next, you’ll need to select the tasks for migration. Click the “Actions” button and choose “Select and Add.”
Step 4: Change your search criteria to tasks and look for “Manage Job Role” and “Manage Data Security.”
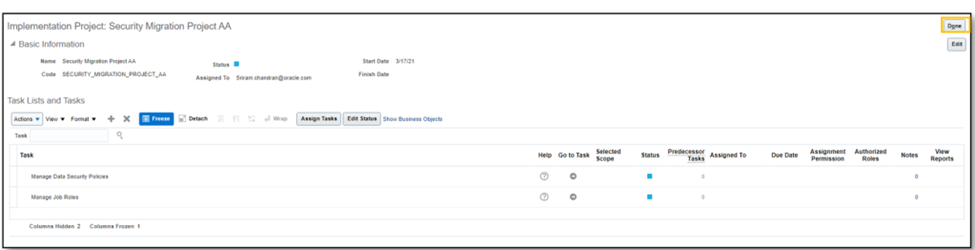
Step 5: Select the relevant tasks, apply your changes, and then click “Done.” You’ll see the selected tasks added under “Task Lists and Tasks.”
Step 6: Click “Done” in the top right corner to proceed.
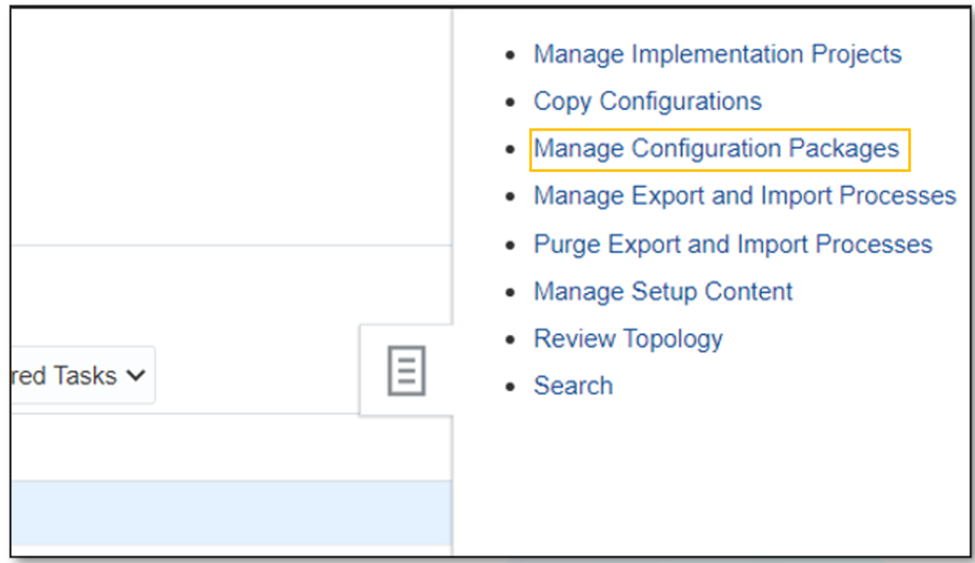
Step 7: After this, it’s time to create a Configuration Package. Navigate to “Setup & Maintenance” and select “Manage Configurations Package.”
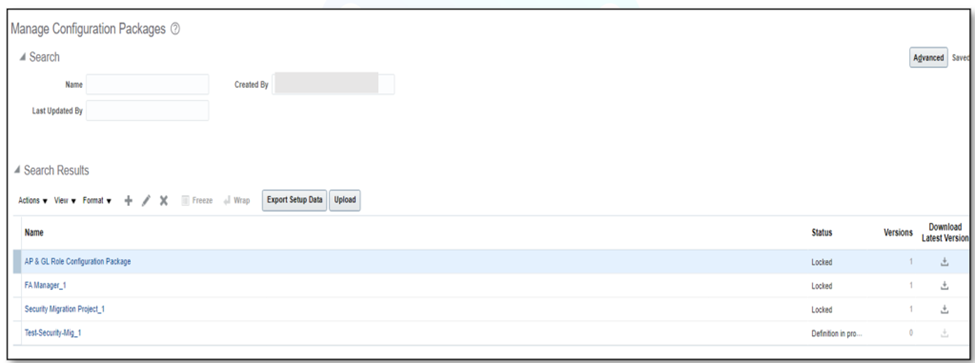
Step 8: Click on “Create Configuration Data.”
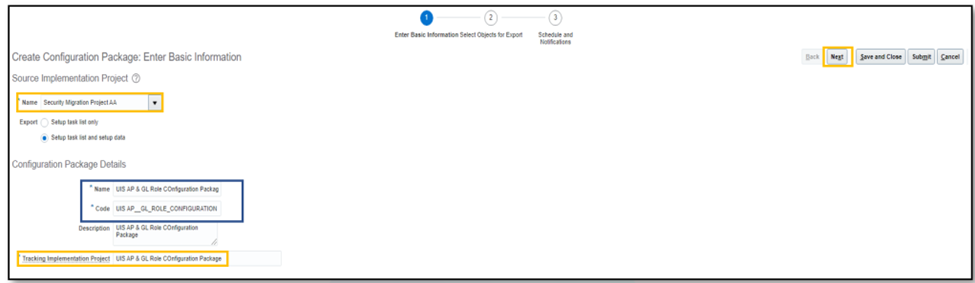
Step 9: Choose the Implementation project you created in the previous step, ensuring that Setup Task List and Setup Data are selected.
Step 10: Enter the necessary details for the Configuration Package and click “Next.”
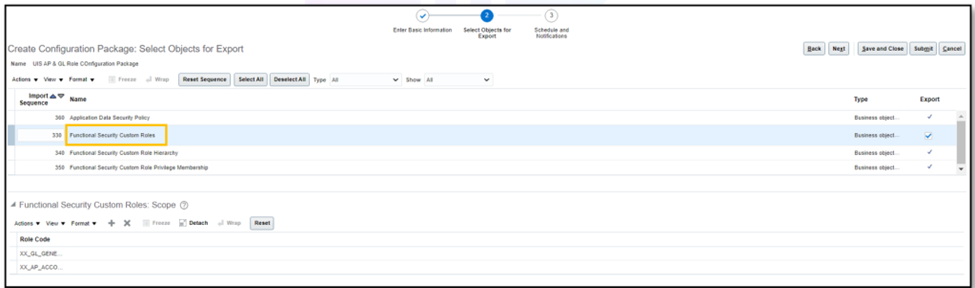
Step 11: Adjust the Sequence number from 150 to 360 for “Data Security Policy” to prioritize loading Job roles first.
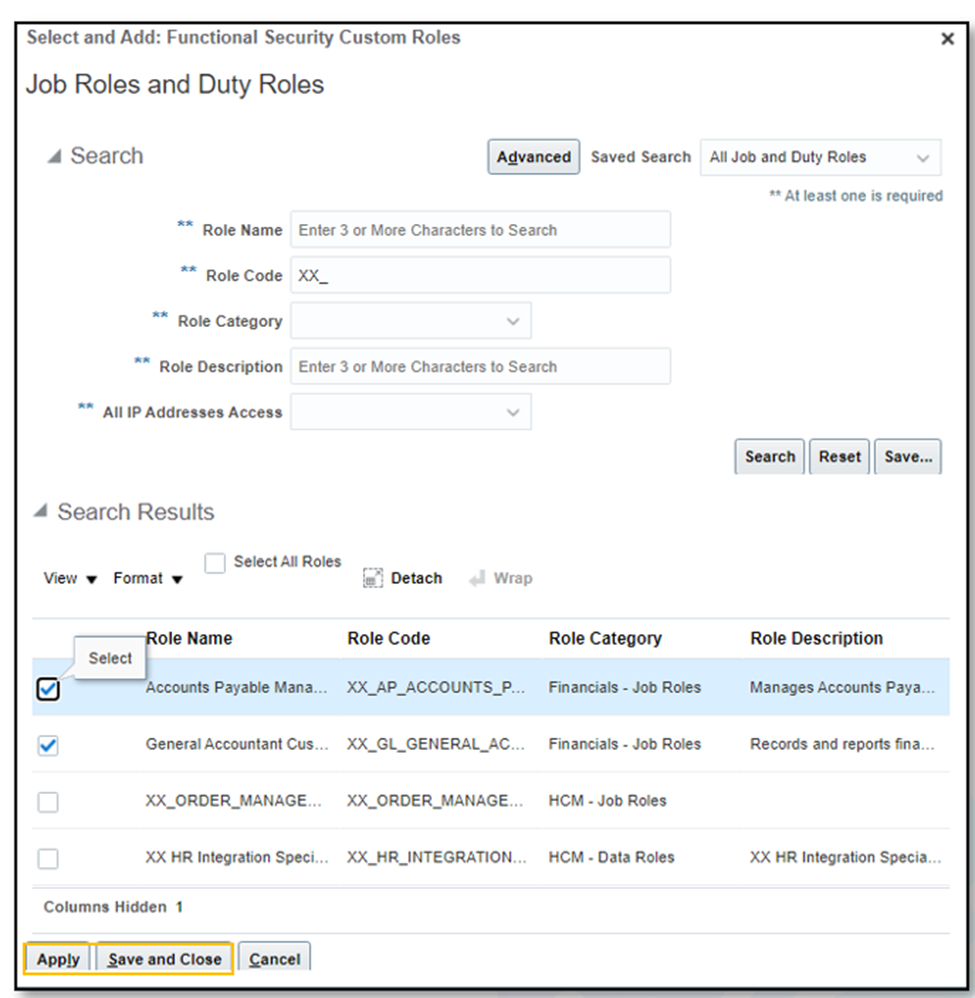
Step 12: Add Functional Security Custom Roles and select the list of Job roles for migration. Save and close.
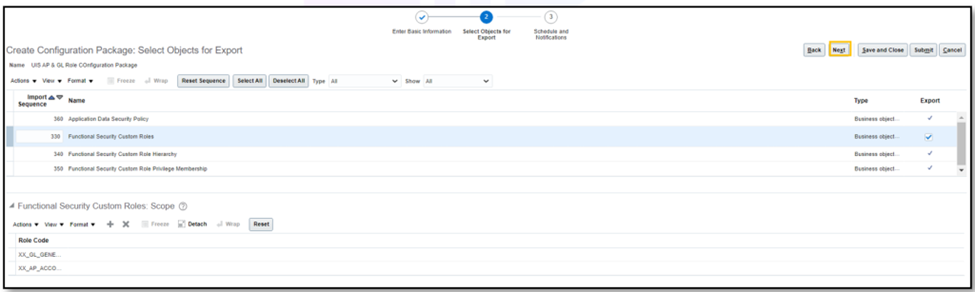
Step 13: You’ll see the selected Custom roles under the “Functional Security Custom Roles” section. Click “Next.”
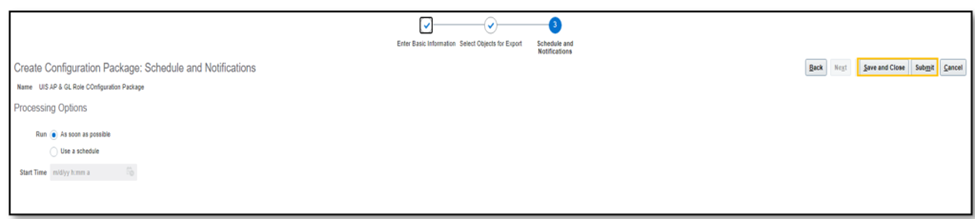
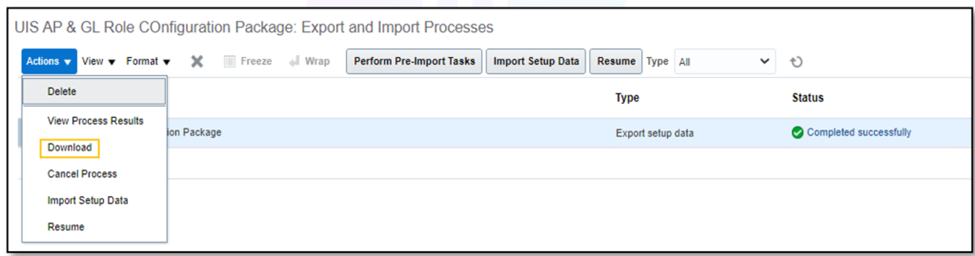
Step 14: You can schedule the Configuration Package. Submit it and save, then download the Package after the process completes.
Step 15: Now, navigate to the target environment and select “Setup & Maintenance” > “Manage Configurations Packages.”
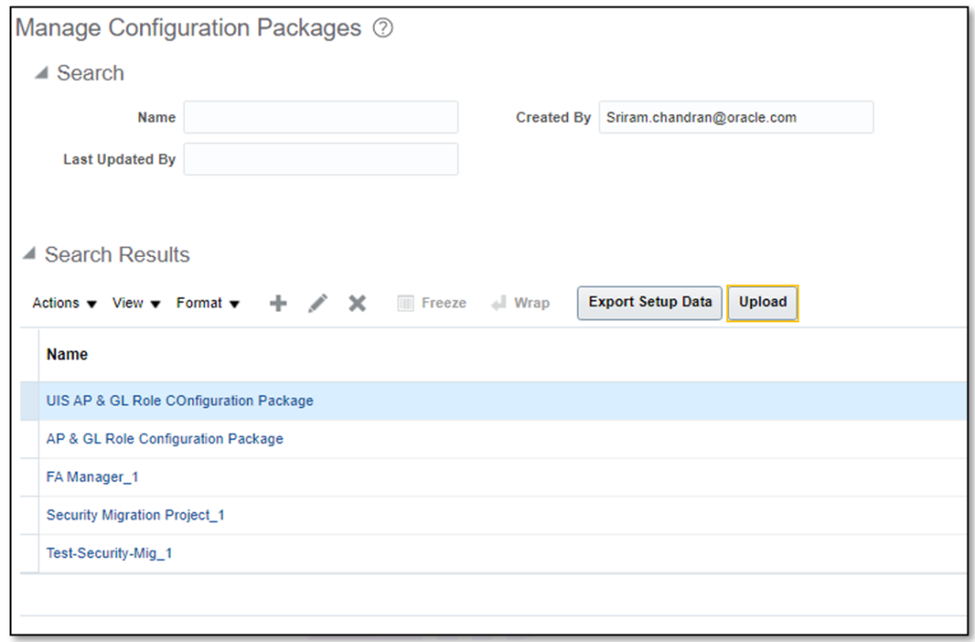
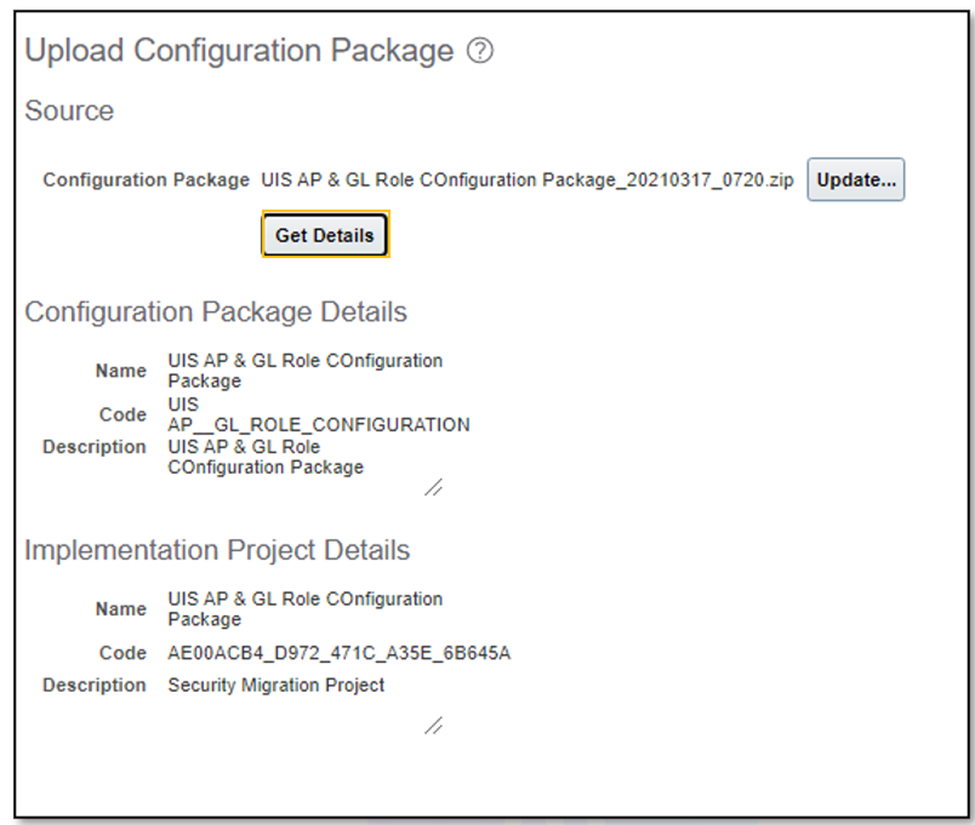
Step 16: Upload the Configuration Package exported from the Test Environment. Click “Upload,” select the Configuration Package Zip folder, and retrieve the package details. Submit the upload.
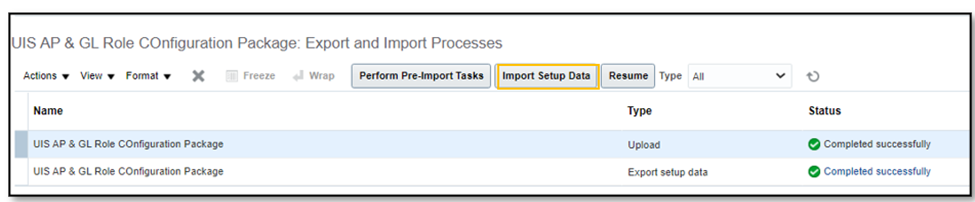
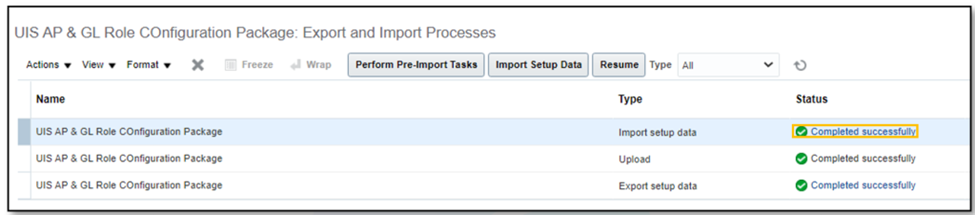
Step 17: After the uploaded Package completes, select the Package and choose “Import Setup Data.”
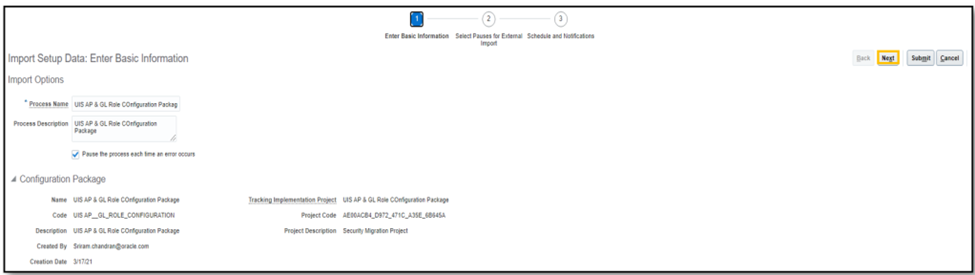
Step 18: Verify the imported Package Information and click “Next.”
Step 19: Confirm the selected pauses for external import.
Step 20: Finally, click “Submit.”


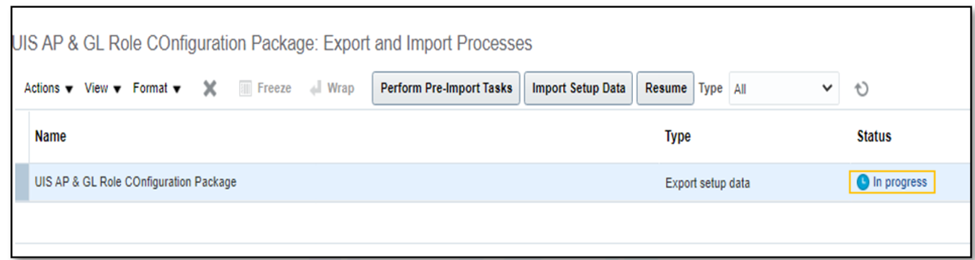
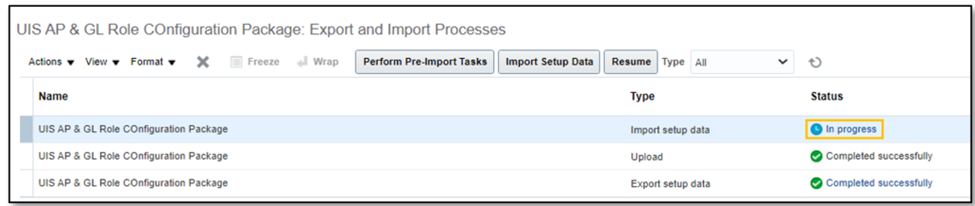
Step 21:The process will take some time to complete.
Step 22: Once the process is finished, you can access “Tools” > “Security Console” > “Roles.”
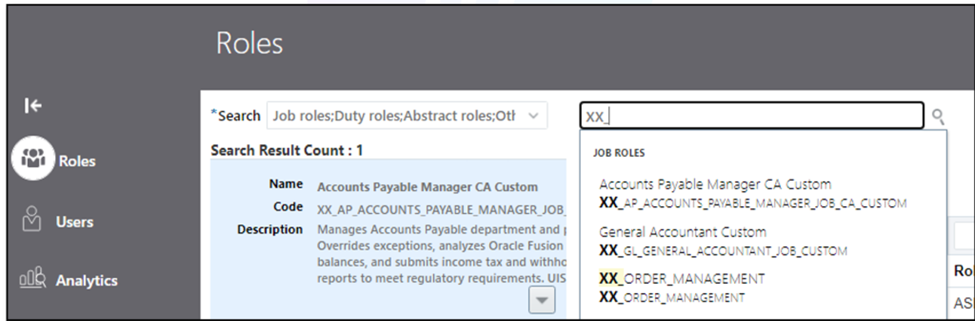
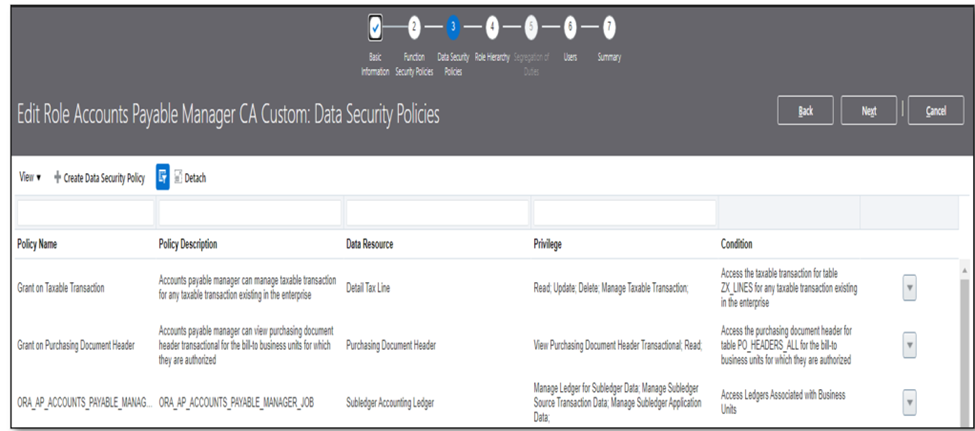
Step 23: You’ll find that the Data security Policy has been added within the Imported Custom Role.
By following these detailed steps, you can effectively export your setup data, create configuration packages, and ensure a seamless transition between environments. This process is essential for maintaining data security and custom roles. Once completed, you’ll be well-prepared to manage your implementation projects with confidence.
Leave a Reply