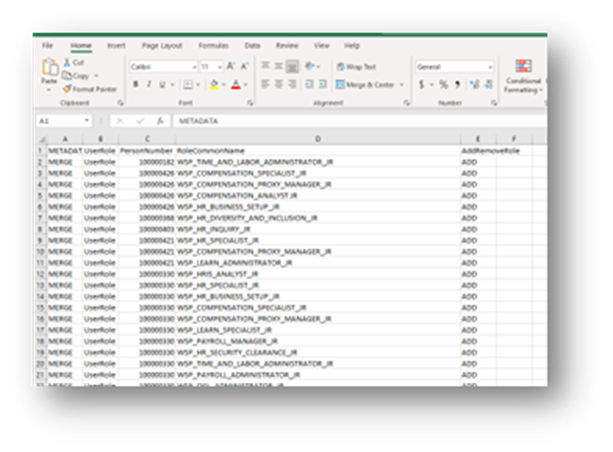
The user role mapping can be done by utilizing the role mapping template. The examples given below can be referred for a better understanding.
Step 1:
- Fill in the required information in the template format. The Excel file must be saved in the CSV format.
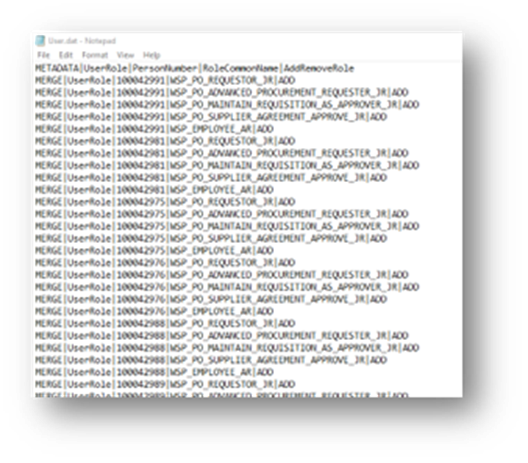
- Open the saved file in Notepad and replace all “,” with “|”. Save the file as “user.dat”.
- Zip the Notepad file (now named User.dat) for importing in Step 5.

Step 2:
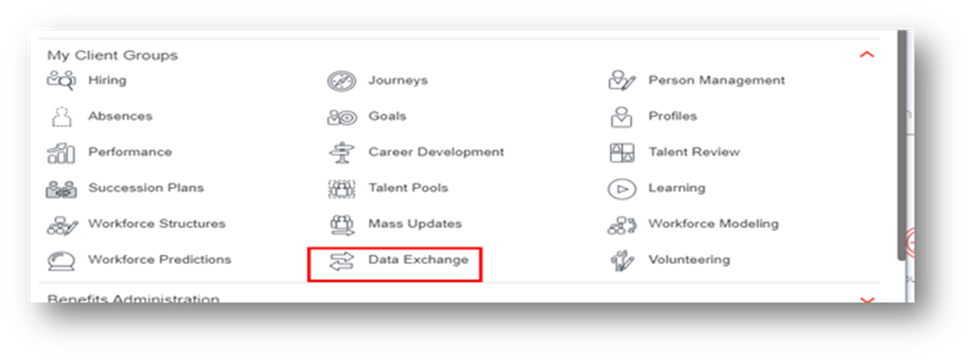
Access the Data Exchange by following these steps:
- Navigate to Home.
- Click on the Navigation menu.
- Select My Client Group.
- Choose Data Exchange.
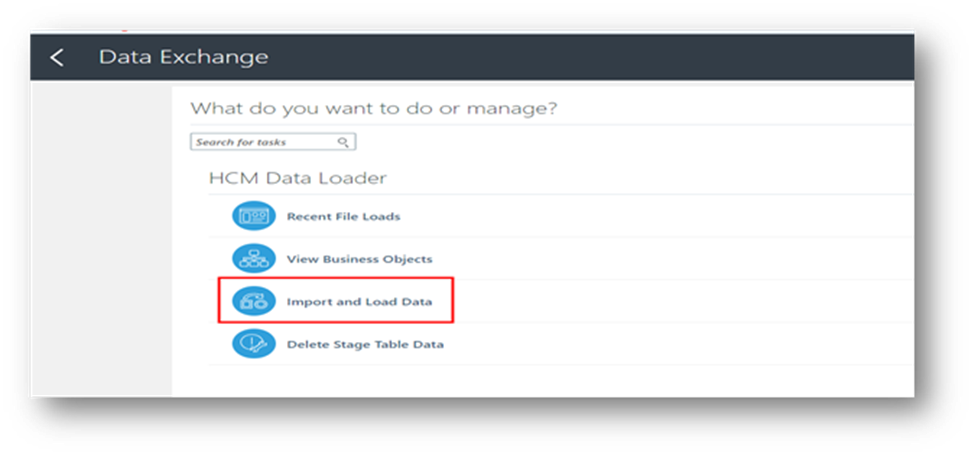
Step 3:
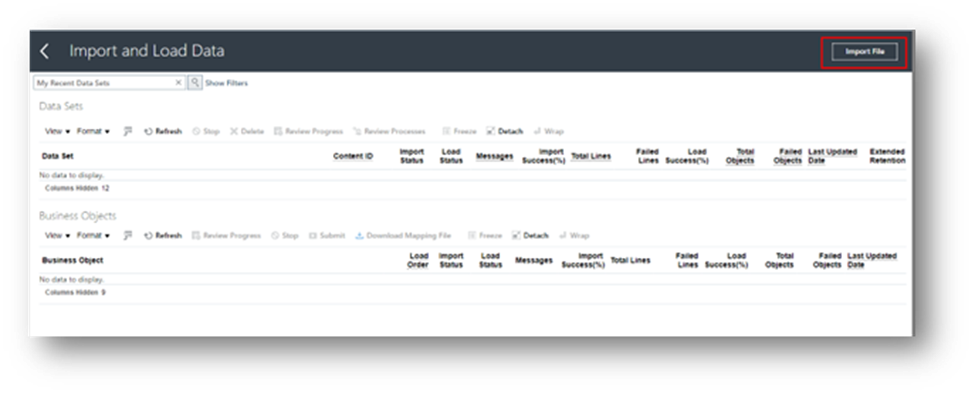
Click on “Import and Load Data”.
Step 4:
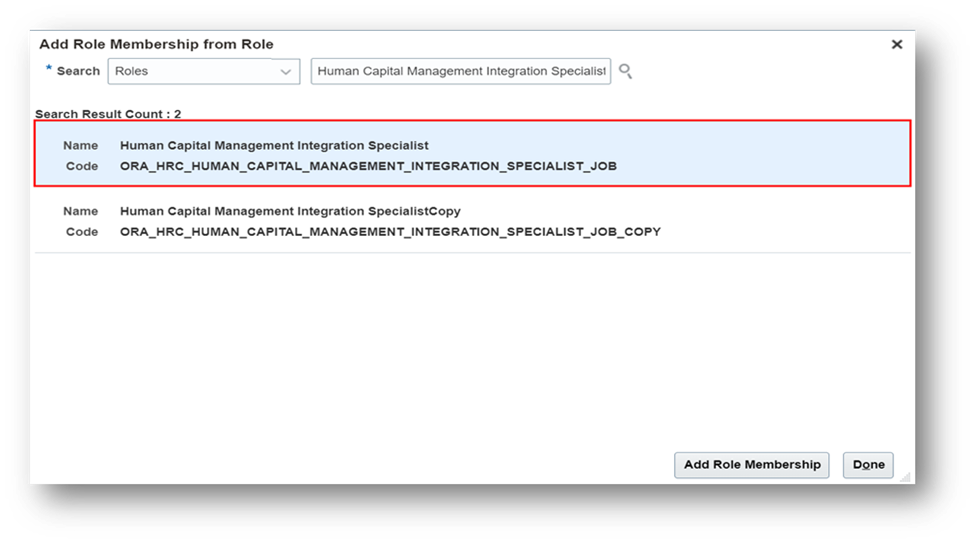
Note: Access to import and load data requires the Human Capital Management Integration Specialist role.
Step 5:
Click on “Import file”.
Step 6:
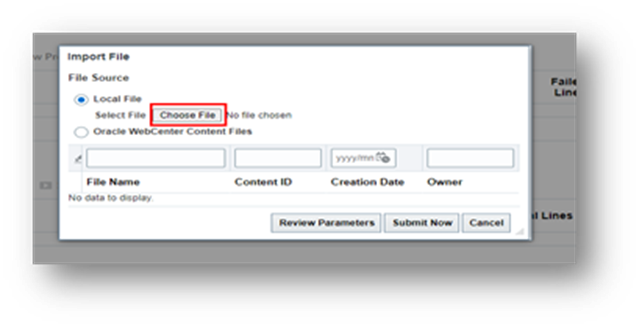
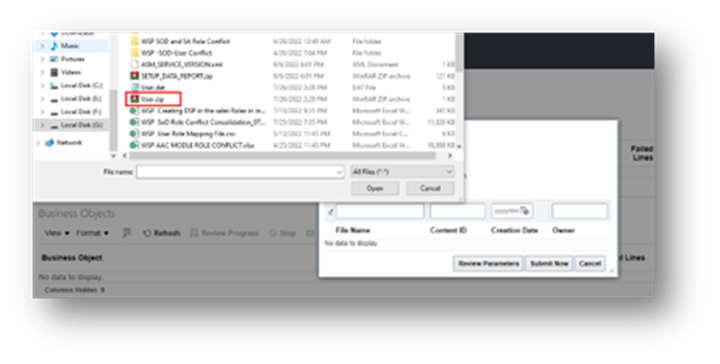
Follow these steps to upload the file:
- Click “Choose file”.
- Select the saved zip file (User.zip) and open it.
- Click “Submit Now”.
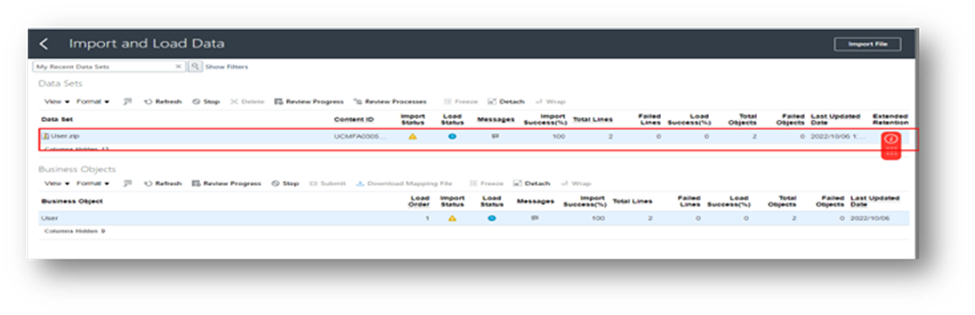
Step 7:
- In case of failed objects, click on them to view detailed error reports.
- Refresh the page to update the Import/Load status until completion.
Step 8:
After the import is complete, run the scheduled process using the following steps:
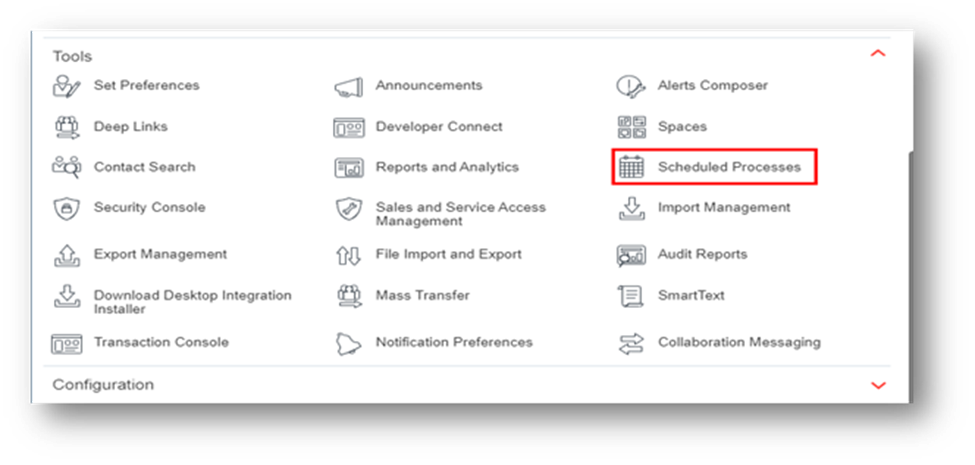
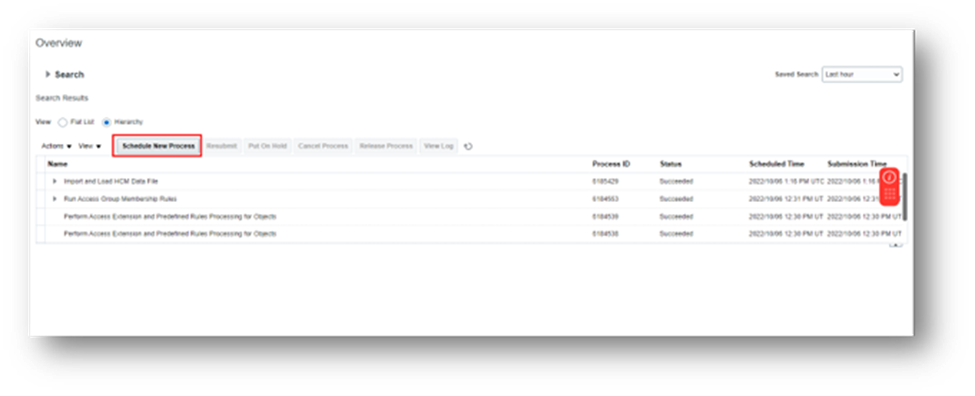
Step 9:
Click on “Schedule New Process”.
Step 10:
Complete the process by following these steps:
- Search and select “Retrieve Latest LDAP Changes”.
- Search for and select “Import User and Role Application Security Data”.

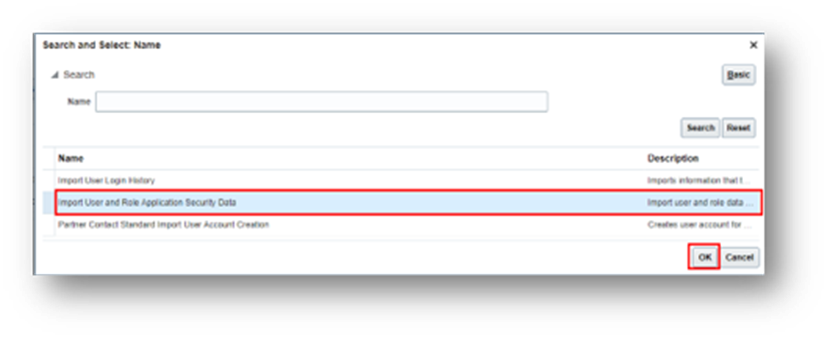
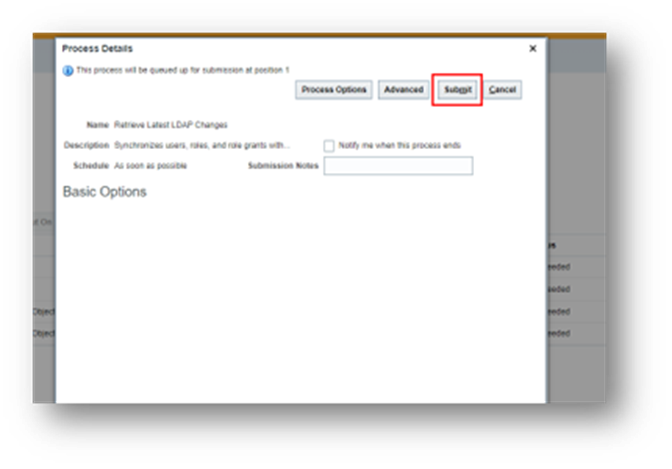
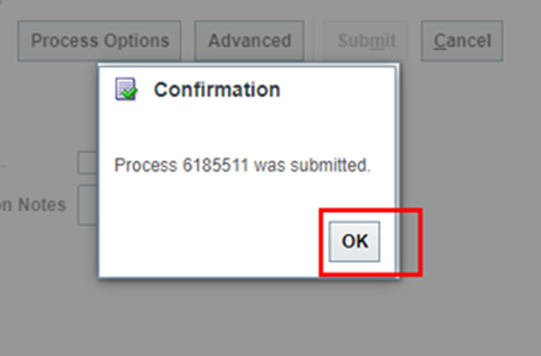
Step 11:
Click “Submit” and confirm with “OK” when prompted.
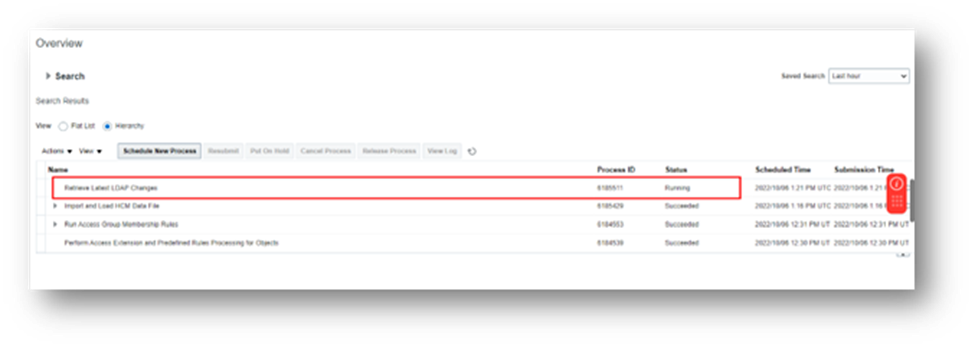
Step 12:
- Monitor the job status as shown in the below image.
- Refresh the page to update the status until it shows as successful.
Step 13:
You can now verify all users and their assigned roles.

By carefully following the outlined steps, the process of importing user role mapping in bulk can be carried out successfully.
Leave a Reply